Configuring SSO for Shibboleth (using Gluu)
Prerequisites
Ensure that you have the following before you start configuring Gluu
- Gluu account with admin privileges
- The Clumio Entity ID and Assertion Consumer Service URL refer to this knowledge base article for instructions on how to get that information from the Clumio Dashboard.
Configuring Shibboleth as an IdP for Clumio Service
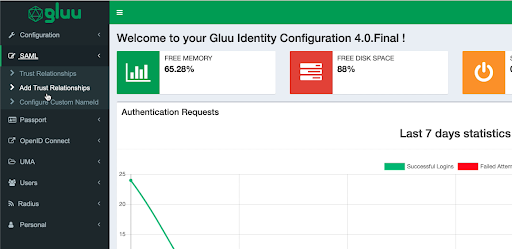
- Log on to your Gluu dashboard, click SAML > Add Trust Relationships.
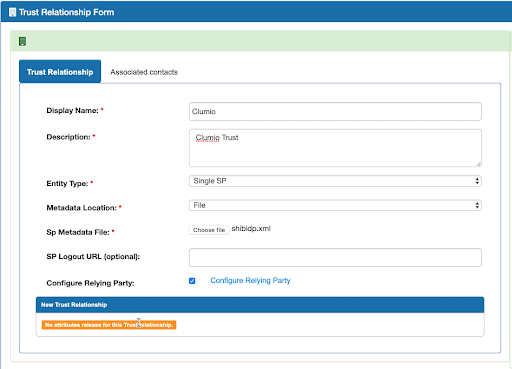
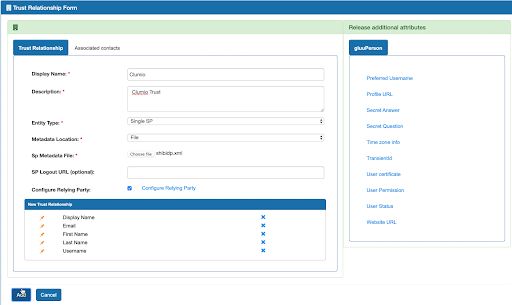
- Under Trust Relationship Form, enter the following:
Display Name:Clumio
Description: Clumio Trust
Entity Type: Single SP
Metadata Location: File
SP Metadata File: Select the Clumio SP metadata XML file
- Enable the Configure Relying Party field and click Configure Relying Party.
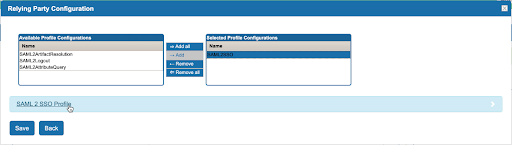
- Under Relying Party Configuration, add a profile configuration of SAML2SSO and click the SAML 2 SSO Profile after adding it:
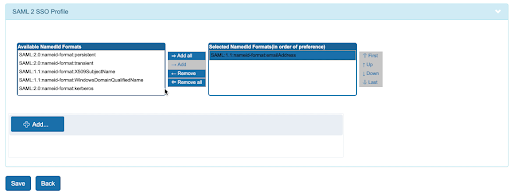
- Scroll down in the profile to NameID Formats and add SAML1.1:nameid-format:emailAddress field as shown below. Click Save.
- From the right section, select the following fields to add them to the Trust Relationship:
- Display Name
- First Name
- Last Name
- Username
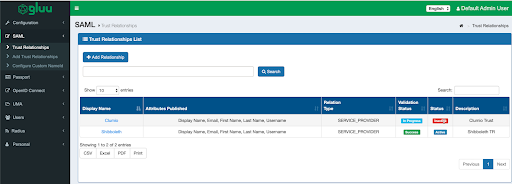
- Click SAML > Trust Relationshipsand confirm that the Clumio configuration is present as shown below:
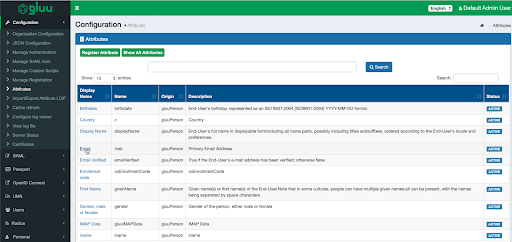
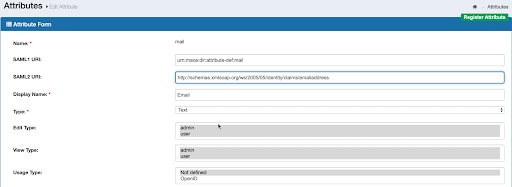
- Ensure that the Email attribute has a SAML2 URI configured. Go to Configuration > Attributes. Click Email and ensure that it's active as shown below:
- If SAML2 URL is not configured, configure it with the following value:
http://schemas.xmlsoap.org/ws/2005/05/identity/claims/emailaddress. Scroll down and click Update.
- Finally, navigate to SAML > Trust Relationships and confirm that the Clumio service Validation Status is Success and the Status_ is _Active as shown below:

Contact [email protected] with any questions or concerns.
Updated over 1 year ago